.svg)
How to design a progress bar in Webflow
.svg)
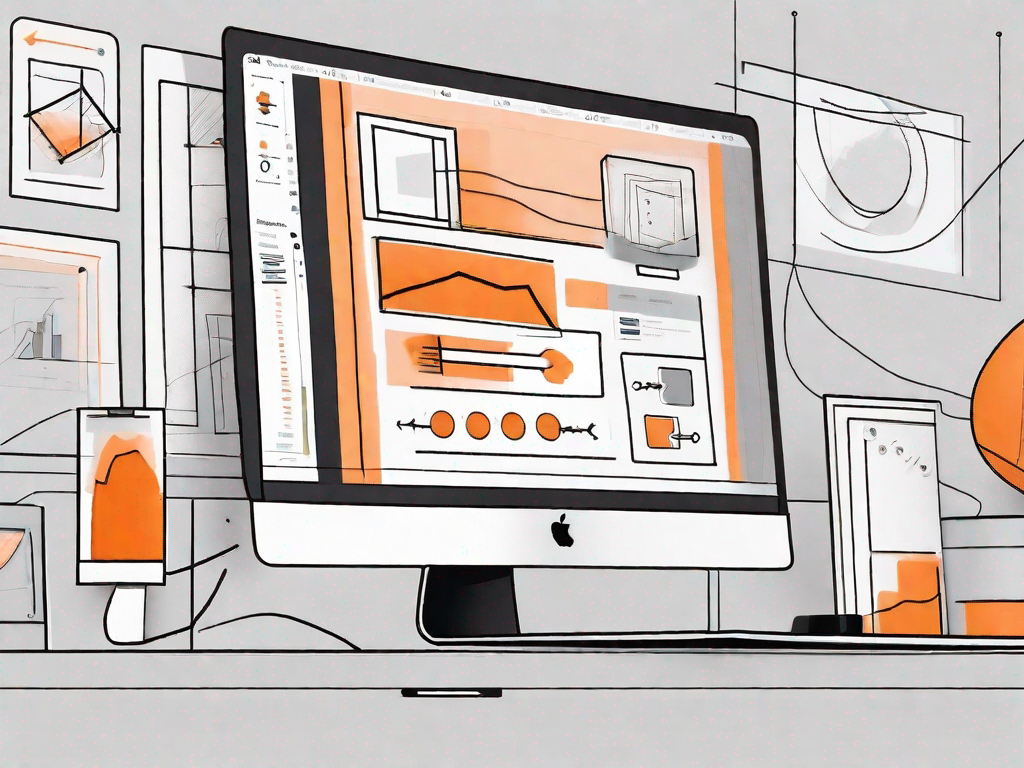
In today's digital world, user experience plays a pivotal role in the success of a website. One crucial element that can greatly enhance the user experience is a well-designed progress bar. Progress bars provide visual feedback on the completion of tasks, helping users gauge how much longer they need to wait or how much progress they have made. If you're using the popular web design tool Webflow, this article will guide you through the process of designing a progress bar that not only looks great but also performs flawlessly.
Understanding the Importance of Progress Bars
Before diving into the technical aspects of designing a progress bar, it's essential to understand why they are so important for user experience. Progress bars serve as visual cues, informing users about the current status of a process. This not only reduces uncertainty and anxiety but also fosters a sense of control and engagement. Whether it's a file upload, form submission, or any task that involves waiting, a well-designed progress bar can significantly improve the overall user experience.
Let's take a closer look at the role of progress bars in user experience and explore the key features that make them effective.
The Role of Progress Bars in User Experience
Progress bars have a crucial role to play in guiding users through a process. They provide a clear indication of how much progress has been made and how much remains. This helps users set their expectations and plan their time accordingly. By breaking down a complex task into smaller, measurable steps, progress bars contribute to a sense of achievement, making users more motivated to complete the process.
Imagine you are filling out a lengthy online form. Without a progress bar, you might feel uncertain about how much more you need to complete. However, with a progress bar, you can see that you are already 50% done, which gives you a sense of accomplishment and encourages you to continue.
Key Features of an Effective Progress Bar
When it comes to designing a progress bar, there are several key features that you should consider:
- Clear visual representation: A progress bar should be visually appealing and easy to understand. Users should be able to quickly interpret the progress status without any confusion.
- Responsive and adaptive: Your progress bar should be responsive and adapt to different screen sizes. It should look good and function properly across various devices and browsers.
- Informative labels or tooltips: Labels or tooltips alongside the progress bar can provide additional information or context, enhancing the overall user experience.
- Smooth animation: Animations can make the progress bar feel more interactive and engaging. A smooth transition between states can add a touch of professionalism to your design.
Consider a scenario where you are uploading a large file. As the progress bar fills up, you may also display labels or tooltips indicating the percentage completed or the estimated time remaining. This additional information keeps the user informed and reduces any potential frustration or impatience.
Furthermore, a well-designed progress bar with smooth animations can create a delightful user experience. Imagine a progress bar that smoothly transitions from one state to another, giving users a sense of progress and accomplishment. Such attention to detail can leave a lasting positive impression on the user.
By incorporating these key features into your progress bar design, you can create a seamless and engaging user experience that enhances the overall usability of your application or website.
Getting Started with Webflow
Webflow is a powerful web design tool that allows you to create visually stunning websites without writing a single line of code. Before you can start designing your progress bar, you need to familiarize yourself with the Webflow interface and set up your Webflow account.
An Overview of Webflow's Interface
Webflow's interface is designed to be intuitive and user-friendly. There are various panels and tools to help you create, style, and publish your websites. The main components of the Webflow interface include the Designer, Navigator, Style panel, and the Settings panel. Understanding how these components work together will greatly simplify the process of designing your progress bar.
Setting Up Your Webflow Account
Before you can start using Webflow, you need to create an account. Simply visit the Webflow website and follow the registration process. Once you have created an account, you'll have access to a range of features and tools that will help you design and build your progress bar.
Step-by-Step Guide to Designing a Progress Bar in Webflow
Now that you're familiar with the importance of progress bars and have set up your Webflow account, let's dive into the process of designing a progress bar in Webflow.
Choosing the Right Elements for Your Progress Bar
In Webflow, you have several elements to choose from when creating your progress bar. Depending on your design requirements and preferences, you can use a combination of div blocks, text elements, and custom CSS classes to achieve the desired look and functionality.
Customising Your Progress Bar's Appearance
Webflow provides a wide range of styling options to customize the appearance of your progress bar. You can adjust the size, colors, gradients, and other visual properties to match your overall design aesthetic. Experiment with different options to create a progress bar that seamlessly integrates with the rest of your website.
Configuring Your Progress Bar's Functionality
In addition to the visual aspects, you'll need to configure the functionality of your progress bar. Webflow offers various interactions and animations that can enhance the user experience. For example, you can set up a smooth transition between different states of the progress bar or add tooltips to provide additional information.
Troubleshooting Common Issues
While designing your progress bar, you may encounter certain issues that can impact its performance or appearance. Here are a couple of common issues and how to troubleshoot them:
Addressing Layout Problems
If your progress bar is not aligning properly or is overlapping with other elements, you'll need to adjust the layout. Double-check the positioning properties and margins to ensure everything is in its correct place. Using the Webflow Designer's responsive design tools, you can also optimize your progress bar's layout for different screen sizes.
Fixing Functionality Glitches
If your progress bar is not functioning as expected, check the interactions and animations you've set up. Make sure that the triggers, animations, and timeline are set correctly. You can also use Webflow's built-in preview and debugging tools to identify and fix any functionality glitches.
Tips for Enhancing Your Progress Bar Design
While the technical aspects of designing a progress bar are vital, there are also some additional tips that can help elevate your design to the next level:
Incorporating User Feedback into Your Design
Listen to your users and incorporate their feedback into your progress bar design. Conduct user testing and gather insights on how they perceive and interact with the progress bar. By considering the user's perspective, you can make informed design choices that align with their expectations and preferences.
Utilising Webflow's Advanced Features
As you become more comfortable with Webflow, explore and experiment with its advanced features. Webflow offers a wide range of tools, such as interactions, animations, and dynamic content, that can take your progress bar design to the next level. Push the boundaries and create a unique and memorable user experience.
In conclusion, understanding the importance of progress bars, getting familiar with Webflow's interface, and following a step-by-step guide will empower you to design an effective progress bar. By considering key features, troubleshooting common issues, and incorporating user feedback, you can create a progress bar that not only looks outstanding but also enhances the overall user experience. Embrace the power of progress bars and elevate your website's design with Webflow!
Related Posts
Let's
Let’s discuss how we can bring reinvigorated value and purpose to your brand.





.svg)