.svg)
How to add a custom product image comparison slider in Shopify
.svg)

In the world of e-commerce, providing high-quality product images is essential to attract and engage customers. One effective way to showcase product details is through a product image comparison slider. This interactive feature allows customers to compare different images of a product side by side, giving them a better understanding of its features and variations. In this article, we will explore the importance of a product image comparison slider, the preliminary steps to take before adding one to your Shopify store, how to choose the right slider for your store, and a step-by-step guide on how to add a custom product image comparison slider.
Understanding the Importance of a Product Image Comparison Slider
When it comes to online shopping, customers rely heavily on product images to make purchase decisions. A product image comparison slider enhances the user experience by allowing customers to view different product images in a single interface. This feature enables customers to see detailed comparisons and helps them make informed choices. By providing this interactive tool, you can increase customer satisfaction, reduce product returns, and ultimately boost sales.
Enhancing User Experience with Image Comparison
By incorporating a product image comparison slider, you can enhance the user experience on your Shopify store. Customers can easily switch between different images, zoom in to see specific details, and get a clearer understanding of the product's features. This interactive element adds an extra layer of engagement and empowers customers to make informed decisions.
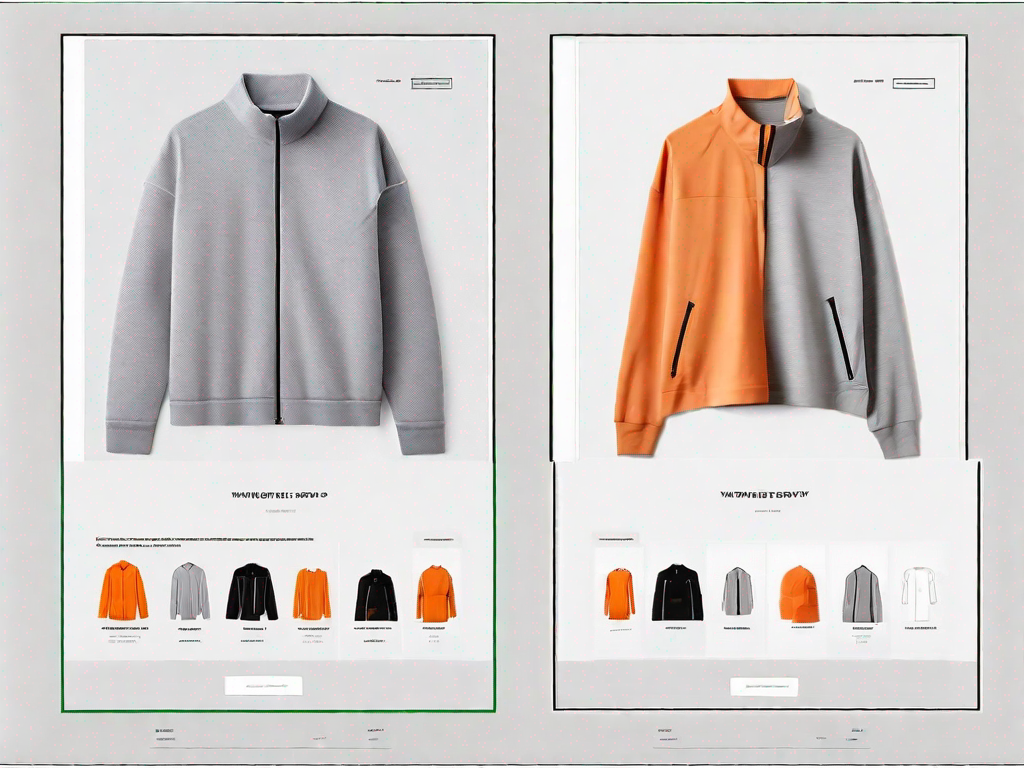
Imagine a scenario where a customer is browsing your online store for a new pair of running shoes. They come across a product that catches their attention, but they want to see it from different angles and in different colors. With a product image comparison slider, they can effortlessly switch between images, allowing them to assess the shoe's design, color options, and overall appearance. This level of detail and control provides a more immersive shopping experience, increasing the likelihood of a purchase.
Furthermore, the ability to zoom in on specific details is a valuable feature that can greatly assist customers in their decision-making process. For example, if a customer is interested in purchasing a camera, being able to zoom in on the lens, buttons, and other intricate parts can help them evaluate the product's quality and functionality. This level of scrutiny instills confidence in the customer, as they can thoroughly examine the product before making a purchase.
Boosting Sales with Effective Product Display
A well-designed product image comparison slider can significantly impact your sales. By showcasing multiple product images, you can highlight variations such as different colors, sizes, or angles. This visual representation provides customers with a more comprehensive view of the product, instills confidence in their choices, and increases the likelihood of making a purchase.
Imagine a customer searching for a new dress for a special occasion. They want to see how the dress looks from the front, back, and side. With a product image comparison slider, they can easily switch between these different views, allowing them to assess the dress's fit, style, and overall appearance. This level of visual detail enables customers to make a more informed decision, as they can see exactly how the dress will look from various angles.
In addition to showcasing different angles, a product image comparison slider can also be used to display variations in color or pattern. For example, if you sell furniture, customers may want to see how a particular sofa looks in different fabric options. By providing multiple images that showcase these variations, customers can easily compare and choose the option that best suits their preferences and complements their existing decor.
Furthermore, a product image comparison slider can be particularly useful when selling products with intricate details or unique features. For instance, if you offer handmade jewelry, customers may want to examine the craftsmanship up close. By allowing them to zoom in on the product images, they can appreciate the fine details, such as the intricate metalwork or the sparkle of gemstones. This level of visual engagement can create a sense of desire and exclusivity, ultimately increasing the likelihood of a sale.
Preliminary Steps before Adding a Custom Slider
Before adding a custom product image comparison slider to your Shopify store, there are a few preliminary steps you need to take. These steps will ensure smooth integration and maximize the effectiveness of the slider.
Setting Up Your Shopify Account
If you haven't already, you need to create a Shopify account. Shopify provides a user-friendly platform for e-commerce businesses, allowing you to easily manage your store's products, inventory, and customer data. Setting up your account is a straightforward process that involves providing basic information and selecting the appropriate subscription plan for your business.
Familiarising Yourself with Shopify's Interface
Once your Shopify account is set up, take some time to familiarize yourself with the platform's interface. Learn how to navigate through the different sections, such as product management, theme customization, and app integration. Understanding Shopify's interface will make it easier for you to add and customize your product image comparison slider.
Choosing the Right Slider for Your Shopify Store
When selecting a slider for your Shopify store, you should consider several factors to ensure that it aligns with your store's design, functionality, and user experience goals.
Factors to Consider When Selecting a Slider
Consider the following factors when choosing a product image comparison slider:
- Compatibility: Ensure that the slider is compatible with Shopify and can be easily integrated into your store.
- Customization Options: Look for sliders that offer a range of customization options, such as color schemes, transition effects, and image zoom functionality.
- Responsiveness: Opt for a slider that is responsive and can adapt to different screen sizes, ensuring a seamless experience for mobile and desktop users.
- Reviews and Ratings: Check reviews and ratings of different sliders to gauge their popularity and reliability.
Top-Rated Sliders for Shopify
Here are some top-rated sliders that are highly recommended for Shopify:
- Slider Revolution
- Smart Slider 3
- Owl Carousel
- FlexSlider
Step-by-Step Guide to Adding a Custom Product Image Comparison Slider
Now that you have selected the right slider for your Shopify store, let's dive into the step-by-step process of adding a custom product image comparison slider.
Accessing Your Shopify Store's Backend
To begin, log in to your Shopify account and navigate to your store's backend. From there, locate the "Themes" section, which allows you to customize the appearance and layout of your store.
Installing the Chosen Slider
Once you are in the "Themes" section, select "Customize" for the theme you want to add the product image comparison slider to. Look for the option to add new elements or sections and choose the appropriate placement for your slider. Click on the add element button and search for the name of the slider you have chosen. Follow the installation instructions provided by the slider's documentation.
Configuring the Slider Settings
After installing the slider, you will need to configure its settings to ensure optimal performance and appearance. Customize the slider's dimensions, transition effects, navigation buttons, and any additional features you want to enable. Take advantage of the customization options to match the slider with your store's branding and design.
Uploading and Arranging Your Product Images
Before you can populate your product image comparison slider, you need to have high-quality product images that effectively showcase your products and their variations.
Best Practices for Product Photography
When capturing product images, consider the following best practices:
- Use high-resolution images: Ensure that your images are clear, well-lit, and high-resolution.
- Highlight product details: Capture images that highlight the key features and unique selling points of your products.
- Consistent lighting: Maintain consistent lighting across your product images to ensure a cohesive look.
- Include different angles and variations: Capture images from different angles and include close-ups to provide a comprehensive view of your products.
Organising Images for Optimal Comparison
Once you have your product images ready, organize them in a way that allows for easy comparison. Label the images with clear and descriptive names, making it straightforward for customers to switch between different variations. Arrange the images in a logical order that aligns with your store's product categories or variations. This organization will enhance the user experience and make it easier for customers to compare different product images.
By following these steps, you can seamlessly add a custom product image comparison slider to your Shopify store. Providing customers with an interactive tool to compare product images will enhance their shopping experience and increase conversion rates. Remember to regularly update your product images and test different slider configurations to ensure optimal performance.
Related Posts
Let's
Let’s discuss how we can bring reinvigorated value and purpose to your brand.


.svg)