
.svg)
How to design a hero section in Webflow
.svg)
In the world of web design, the hero section is a powerful tool that can make or break the first impression of your website. It is the first thing that visitors see when they land on your page, and it plays a crucial role in capturing their attention and conveying your brand message. In this article, we will explore the importance of a hero section and guide you through the process of designing an effective one using Webflow.
Understanding the Importance of a Hero Section
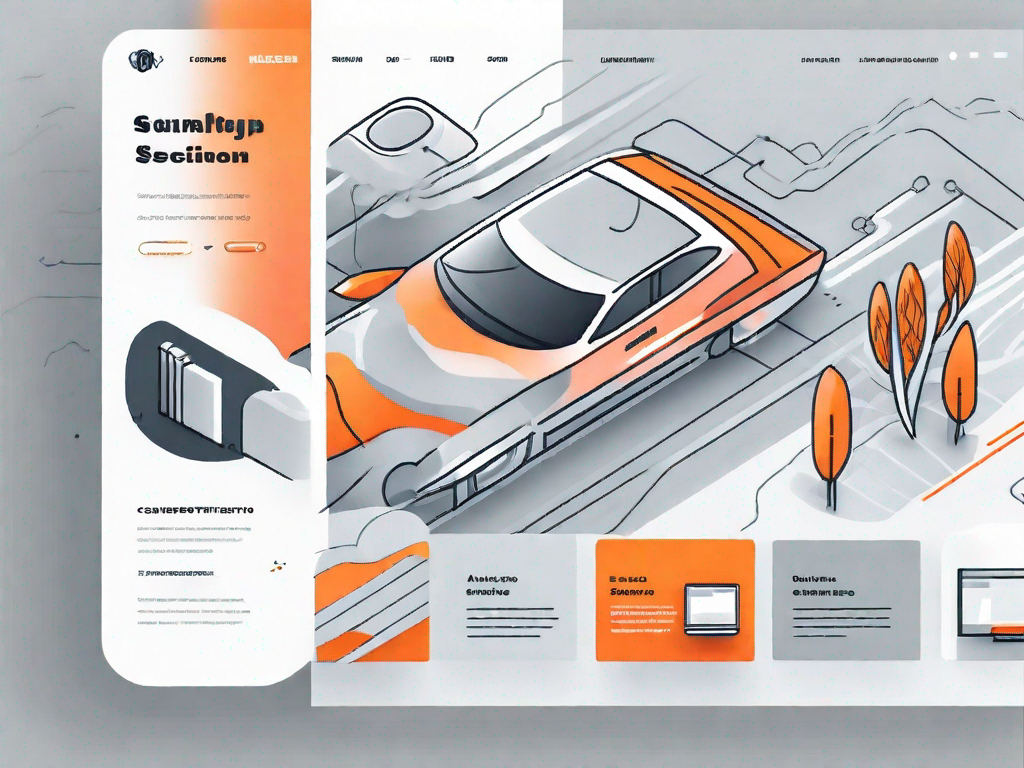
Before we dive into the nitty-gritty details of designing a hero section, let's first understand what exactly a hero section is. In simple terms, a hero section is the topmost part of your website that grabs the attention of visitors and introduces them to your brand or product. It often includes a prominent headline, a captivating image or video, and a call-to-action button.
Now, let's delve deeper into the concept of a hero section and explore why it is such a crucial element for any website. The hero section can be seen as the face of your website, the first thing that visitors see when they land on your page. Just like a first impression in real life, the hero section sets the tone and creates a lasting impression in the minds of your audience.
Imagine walking into a store and being greeted by a beautifully designed entrance with eye-catching displays and captivating visuals. This is the effect a well-designed hero section has on your website visitors. It acts as a gateway, guiding them further into your website to explore more about what you have to offer.
But why is the hero section so crucial? Well, it's simple - it's all about making a memorable first impression. In today's fast-paced digital world, where attention spans are shorter than ever, you only have a few seconds to capture the attention of your visitors. A compelling hero section can do just that.
Not only does the hero section capture attention, but it also conveys your brand personality. It is an opportunity to showcase your unique style, values, and offerings. By carefully selecting the right headline, image or video, and call-to-action button, you can create a hero section that speaks directly to your target audience and resonates with them on a deeper level.
Furthermore, a well-designed hero section can establish credibility. It shows that you have put thought and effort into creating a visually appealing and user-friendly website. This can instill trust in your visitors and make them more likely to explore further and engage with your content.
Finally, the hero section plays a crucial role in driving conversions. By strategically placing a call-to-action button within the hero section, you can guide visitors towards taking the desired action, whether it's making a purchase, signing up for a newsletter, or contacting you for more information. A compelling hero section can significantly increase the chances of converting visitors into customers.
In conclusion, the hero section is not just a visually appealing part of your website; it is a powerful tool that can make or break the success of your online presence. By understanding its importance and investing time and effort into designing an impactful hero section, you can create a memorable first impression, establish credibility, and drive conversions. So, don't underestimate the power of the hero section - it's your website's superhero!
Getting Started with Webflow
Now that we understand the importance of a hero section, let's explore how you can get started with Webflow. Webflow is a powerful website design and development tool that allows you to create responsive and visually stunning websites without writing a single line of code.
An Introduction to Webflow
If you are new to Webflow, it's worth taking a moment to familiarize yourself with its features and capabilities. Webflow provides a user-friendly interface, a wide range of design tools, and a robust content management system. It empowers designers to bring their visions to life and create websites that are both aesthetically pleasing and highly functional.
Setting Up Your Webflow Account
To get started with Webflow, you will need to create an account. Simply visit the Webflow website and follow the registration process. Once you have set up your account, you will have access to the Webflow Designer interface where you can start building your hero section and the rest of your website.
Designing Your Hero Section in Webflow
Now that you have a basic understanding of Webflow, let's dive into the process of designing your hero section. There are several key factors to consider when designing your hero section to ensure it is visually appealing and effectively communicates your brand message.
Choosing the Right Layout for Your Hero Section
The layout of your hero section plays a crucial role in creating a visually appealing and engaging experience for your visitors. You can choose from various layouts, such as full-screen, split-screen, or a combination of different elements. Consider the overall aesthetic of your website and the message you want to convey when selecting the layout for your hero section.
Adding and Customising Elements in Your Hero Section
Once you have selected the layout, it's time to add and customize the elements of your hero section. This includes adding a headline, a subheading, a call-to-action button, and any other relevant content. Pay attention to typography, colors, and spacing to ensure a cohesive and visually pleasing design.
Incorporating High-Quality Images and Videos
Visuals play a crucial role in capturing the attention of your visitors and conveying your brand message effectively. Incorporate high-quality images and videos that align with your brand identity and create an emotional connection. Ensure that the visuals are optimized for web and load quickly to provide a seamless user experience.
Advanced Webflow Hero Section Techniques
Once you have mastered the basics of designing a hero section in Webflow, you can take your skills to the next level by incorporating advanced techniques and features.
Using Interactions and Animations in Your Hero Section
Interactions and animations can add an extra layer of engagement and interactivity to your hero section. Consider incorporating subtle animations that bring your hero section to life and create a memorable user experience. However, it's important to use animations sparingly and ensure they enhance the overall user experience rather than distract from it.
Implementing Responsive Design in Your Hero Section
In today's mobile-first world, it's crucial to ensure that your hero section looks great and functions properly on all devices. Implement responsive design techniques to optimize your hero section for different screen sizes and ensure a seamless experience across desktop, tablet, and mobile devices.
Reviewing and Testing Your Hero Section
Before you publish your hero section live, it's important to review and test it thoroughly to ensure it meets your expectations and delivers the desired results.
Previewing Your Hero Section in Webflow
Webflow provides a built-in preview feature that allows you to see how your hero section looks and functions in real-time. Take advantage of this feature to review your design, test interactions, and make any necessary adjustments before publishing.
Testing Your Hero Section Across Different Devices
Test your hero section across different devices and browsers to ensure that it displays correctly and functions as intended. Pay attention to details such as text readability, image scaling, and button visibility. Make any necessary adjustments to ensure a consistent and seamless experience for all users.
Congratulations! You have now learned the essentials of designing a hero section in Webflow. By understanding the importance of a hero section and implementing the tips and techniques shared in this article, you can create a visually stunning and engaging hero section that captivates your visitors and drives conversions.


Let's
Let’s discuss how we can bring reinvigorated value and purpose to your brand.
.svg)