.svg)
How to add a hero image to WordPress
.svg)

In today's digital landscape, having an eye-catching and visually appealing website is crucial to captivate your audience. Adding a hero image to your WordPress site can be a game-changer when it comes to creating a memorable user experience. In this article, we will delve into the importance of a hero image, the steps to add one to your WordPress site, and how to customize it to suit your needs.
Understanding the Importance of a Hero Image
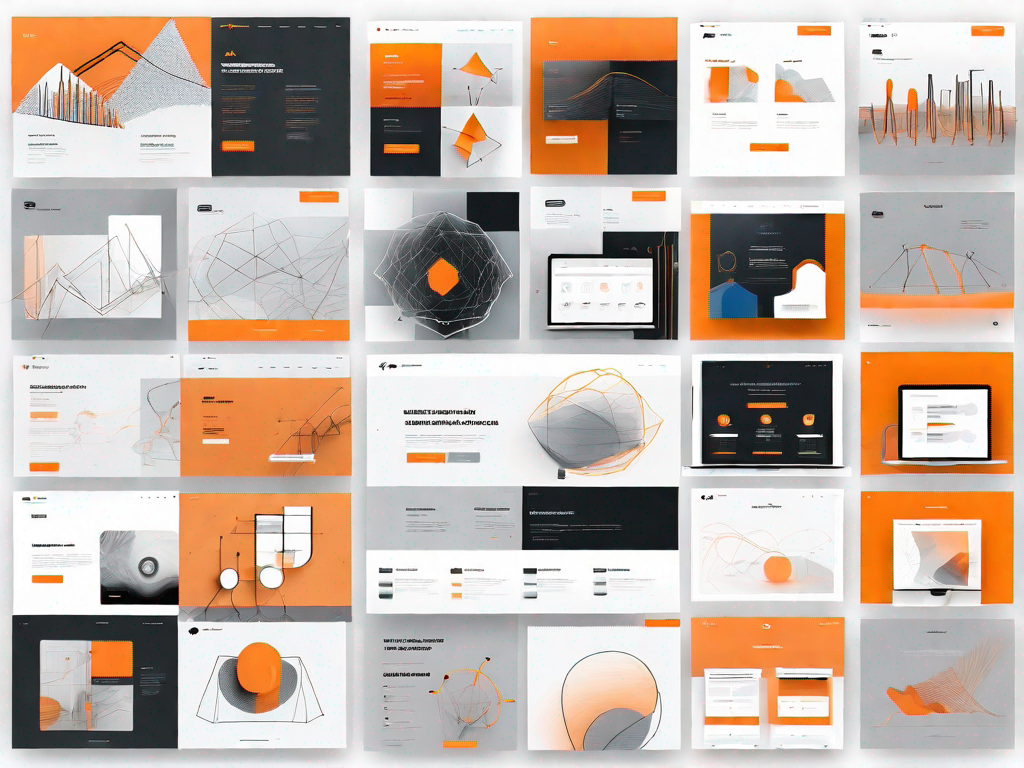
Before we dive into the technicalities of adding a hero image to your WordPress site, let's first discuss why it plays a vital role in web design. A hero image is a large, captivating image prominently placed at the top of a webpage. It serves as the visual centerpiece, instantly grabbing the attention of your visitors and creating a positive first impression.
When it comes to web design, first impressions matter. In a world where attention spans are shrinking, a hero image can make all the difference. It has the power to captivate your audience and draw them into your website, encouraging them to explore further. Imagine a hero image of a picturesque beach for a travel website, instantly transporting your visitors to a world of relaxation and wanderlust.
The Role of a Hero Image in Web Design
In web design, a hero image serves as a powerful visual tool that helps convey your brand's story, message, or product in a single captivating image. It sets the tone, creates an emotional connection, and leaves a lasting impression on your visitors. A well-chosen hero image can instantly communicate the essence of your brand or the purpose of your website.
Think of a hero image as the cover of a book. It's the first thing your visitors see, and it should entice them to delve deeper into your website. Just like a book cover, a hero image should be carefully selected to represent the content within. Whether it's a high-resolution photograph, an illustration, or a stunning graphic, it should capture the essence of your brand and resonate with your target audience.
Benefits of Using a Hero Image in WordPress
There are several benefits to incorporating a hero image into your WordPress site. Firstly, it enhances the overall aesthetic appeal of your website, making it visually appealing and engaging. This, in turn, can increase user retention and reduce bounce rates, as visitors are more likely to stay on a site that has an attractive design.
Moreover, a hero image can serve as a powerful storytelling tool. It allows you to convey a message or evoke an emotion without relying solely on text. For example, a hero image of a family enjoying a picnic in a park can instantly communicate the idea of togetherness, happiness, and a sense of community. This emotional connection can help build trust and establish a deeper relationship with your audience.
Additionally, a hero image can help establish your brand's identity, reinforce your key message, or showcase your products or services. It allows you to make a strong first impression and convey your unique selling proposition within seconds, potentially leading to higher conversion rates.
When choosing a hero image for your WordPress site, consider the story you want to tell and the emotions you want to evoke. Think about your target audience and what will resonate with them. Remember, a well-crafted hero image can be a powerful tool in your web design arsenal, helping you create a memorable and impactful online presence.
Preparing Your Hero Image
Before you add a hero image to your WordPress site, it's important to ensure that you have a visually appealing image that aligns with your brand and the purpose of your website. Here are a few crucial steps to help you prepare your hero image:
Choosing the Right Image
When selecting a hero image, consider the context of your website and the emotions you want to evoke. Choose an image that reflects your brand values, resonates with your target audience, and is visually striking. Make sure the image is high-resolution and in a format compatible with web use.
Imagine you have a website dedicated to outdoor adventure activities. You want your hero image to capture the essence of the thrilling experiences your visitors can expect. You might choose an image of a group of hikers conquering a majestic mountain peak, with their arms raised in triumph. This image not only showcases the beauty of nature but also conveys a sense of accomplishment and excitement.
Remember, your hero image is like the face of your website. It's the first thing visitors see, so it needs to make a strong impression. Take your time to find the perfect image that encapsulates the essence of your brand and leaves a lasting impact on your audience.
Optimising Your Image for Web Use
Optimizing your hero image is essential to ensure that it doesn't adversely affect your website's loading speed. Use image compression tools to reduce the file size without compromising the image quality. WordPress plugins like Smush and EWWW Image Optimizer can help with this process.
Imagine you have chosen a stunning hero image for your website, but it's in its original high-resolution format, which results in a large file size. If you were to upload this image directly to your WordPress site without optimizing it, it could significantly slow down your website's loading speed. This could lead to a poor user experience and potentially drive visitors away.
By using image compression tools, you can reduce the file size of your hero image without sacrificing its quality. These tools employ various techniques, such as removing unnecessary metadata and compressing the image data, to make the file size smaller. This ensures that your hero image loads quickly and smoothly, providing visitors with an optimal browsing experience.
Additionally, WordPress plugins like Smush and EWWW Image Optimizer offer automated optimization features, making it easier for you to optimize your hero image without any technical hassle. These plugins can automatically compress and optimize images upon upload, saving you time and effort.
Remember, a well-optimized hero image not only enhances your website's performance but also contributes to a positive user experience. By taking the time to optimize your hero image, you ensure that your visitors can quickly engage with your content and have a seamless browsing experience.
Steps to Add a Hero Image in WordPress
Navigating to the WordPress Dashboard
To begin adding a hero image to your WordPress site, log in to your WordPress dashboard. Once logged in, navigate to the "Appearance" tab and select "Customize."
Uploading Your Hero Image
In the WordPress Customizer, scroll down and find the option to change the header settings. Look for the "Header Image" or similar option, depending on your theme. Click on it to upload your hero image from your computer's files or choose one from your media library.
Setting Your Hero Image
After uploading your hero image, you will have the option to preview how it looks on your website. Adjust the image if necessary and save your changes. Remember to check how your hero image appears on different devices, as responsiveness is essential for a seamless user experience.
Customising Your Hero Image
Now that you have successfully added a hero image to your WordPress site, you may want to make a few customizations to ensure it aligns perfectly with your branding and website design.
Adjusting Image Size and Position
Depending on your theme, you may have options to adjust the size and position of your hero image. Experiment with different settings to find the ideal balance between visual impact and maintaining a clean design.
Adding Text Over Your Hero Image
If you want to include text over your hero image, consider using a text overlay or a call-to-action (CTA) button. These elements can help guide your visitors' attention and prompt them to take action, such as signing up for a newsletter or exploring your products.
Troubleshooting Common Issues
Although adding a hero image to your WordPress site is a relatively straightforward process, you may encounter a few common issues along the way. Here are some troubleshooting tips:
Dealing with Image Distortion
If your hero image appears distorted or pixelated, ensure that you have uploaded an appropriately sized image and that it is optimized for web use. Adjusting the image dimensions or using a different image format may help resolve this issue.
Resolving Upload Errors
If you encounter any errors while uploading your hero image, check the file size and format. Make sure the image meets the recommended requirements for your theme and WordPress version. If needed, try resizing or converting the image to a different format.
With the right hero image, you can significantly enhance the visual appeal and impact of your WordPress website. By following the steps outlined in this article, you'll be able to successfully add a hero image, customize it to your liking, and create a memorable user experience. Ensure your hero image aligns with your brand's identity, evokes the desired emotions, and represents what makes your website unique.
Related Posts
Let's
Let’s discuss how we can bring reinvigorated value and purpose to your brand.


.svg)